Core Competency – Precision Calibration
Machine tools take accuracy and precision to a level that is far beyond most industrial machinery. Path accuracy is measured in microns. Often times multiple servo axes are coordinated in their movements to achieve the objective. Speed is high. Vibration is low. Temperature effects everything, as does the movement of the earth below the machine.
The people at UNISIG are tuned into accuracy and what it takes to achieve it. This comes from a collection of experience, training and study combined with technology. We also have invested in the tools for precision calibration, and we know how to use them.
How we do it better
At UNISIG, we engineer and build CNC machine tools. We know how they work, inside and out. Precision comes from the first concept of how the machine is constructed. Everything in engineering and manufacturing has its tolerance limits, and our people are very good at mapping out an approach to extract the highest level of precision from a machine through calibration.
Our experience tells us when it is OK to improve alignment simply by improving the machine level, or when some deeper geometry corrections are necessary. Our control systems engineering capability gives use further insight into electronic compensations that are appropriate and when this will cause long term issues and should be avoided.
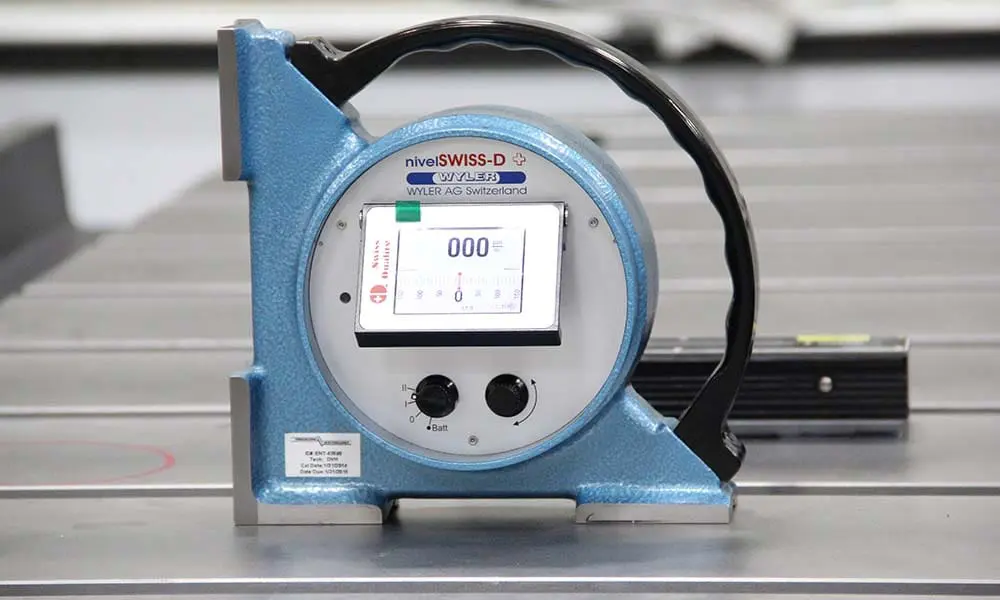
Machine Leveling
Leveling out a machine sounds straightforward. When it is done correctly, it looks easy. When it is not approached systematically with understanding, you can burn days of effort and end up worse than when you started.
We start by analyzing the machine design and foundation construction. What kind of leveling system is in use? What strategy is necessary to determine if the machine is simply out of level, or twisted, or stressed on the foundation that will cause unexpected results from simple changes? How many rough then finish leveling passes will be needed to really trust the end result?
Choosing the right leveling tool is important. Standard machine levels are accurate to around 0.0005”/12” which is good enough for some machines, or a good start for others. Moving to a pair of electronic levels that have a higher precision of 0.0002”/36” provide a much more accurate picture of the machine, and will often expose manufacturing tolerances in the machine itself. Our highest end Swiss-made electronic levels are even more accurate, with a resolution of .00004 (40 millionths) which leaves no questions.
Machine Geometry
Checking squareness, concentricity and overall geometry is the next step to higher accuracy after leveling is complete. Just like any alignment or calibration process, there needs to be a plan. Geometry correction on machine tools requires a sequential inspection process or you will get the wrong answer. The overall machine alignment must be true when multiple axes are moving.
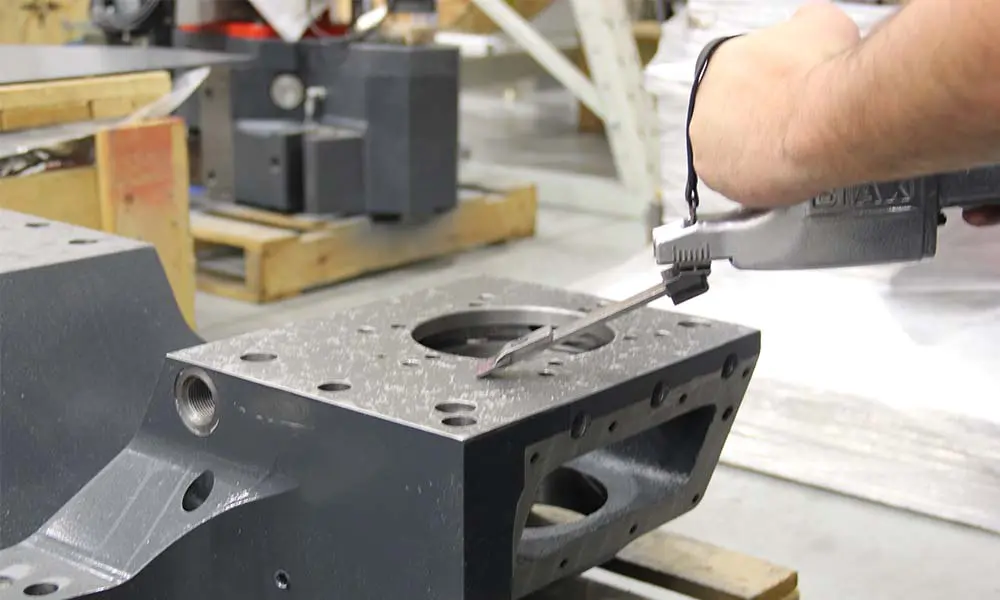
Understanding how the instruments work, and how they can provide false readings is essential. Gravity plays a big role in how much the results can be trusted, so the setup must take this into consideration. UNISIG has granite master squares that are laboratory grade for localized geometric inspections. The largest of these can be used to cover the travel of many horizontal machining centers and multi-axis gundrilling machines.
What can be done to improve machine geometry? If the problem is a result of a crash, investigating the source of the problem may result in replacing parts. Achieving factory geometry tolerances may include grinding spacers or hand-scraping faces to bring in alignment.
Laser alignment
Localized geometry checks using precision squares and straightedges used in conjunction with a set of precision levels however are often enough to confirm a machines accuracy. Machines with large travels and complex motion capabilities need more.
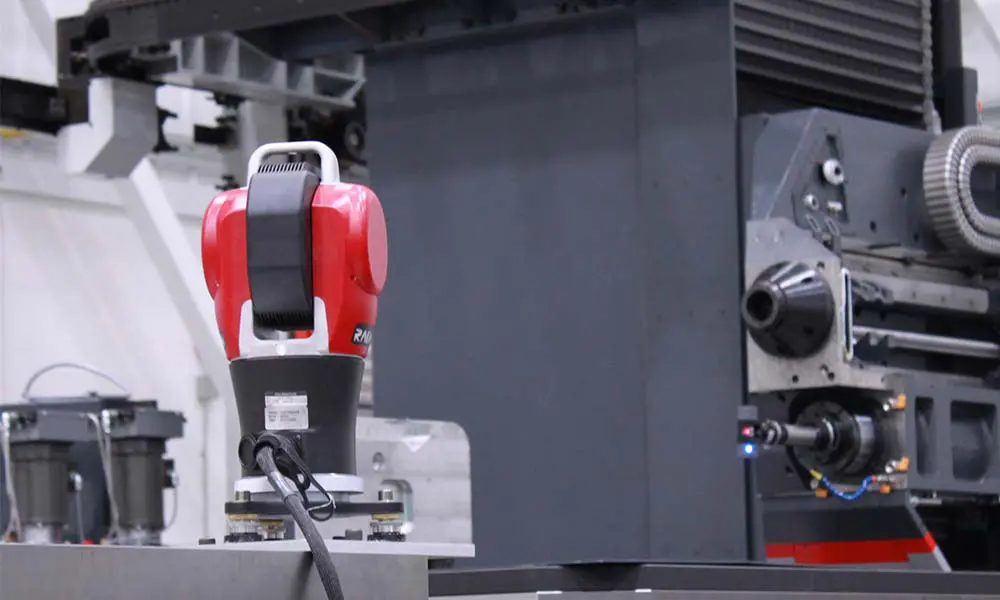
UNISIG has several API laser trackers that perform a full three-dimensional inspection of the machine through its full range of motion. This data is graphically displayed and interpreted using Spatial Analyzer software to give a full picture of the volumetric accuracy.
In many cases the laser inspection is our preferred tool because it gives us a complete picture of the alignment task at hand with a lot less effort and time. For large machine installations it also saves us time because we can map out the foundation errors before we start.
Ball Bar Testing
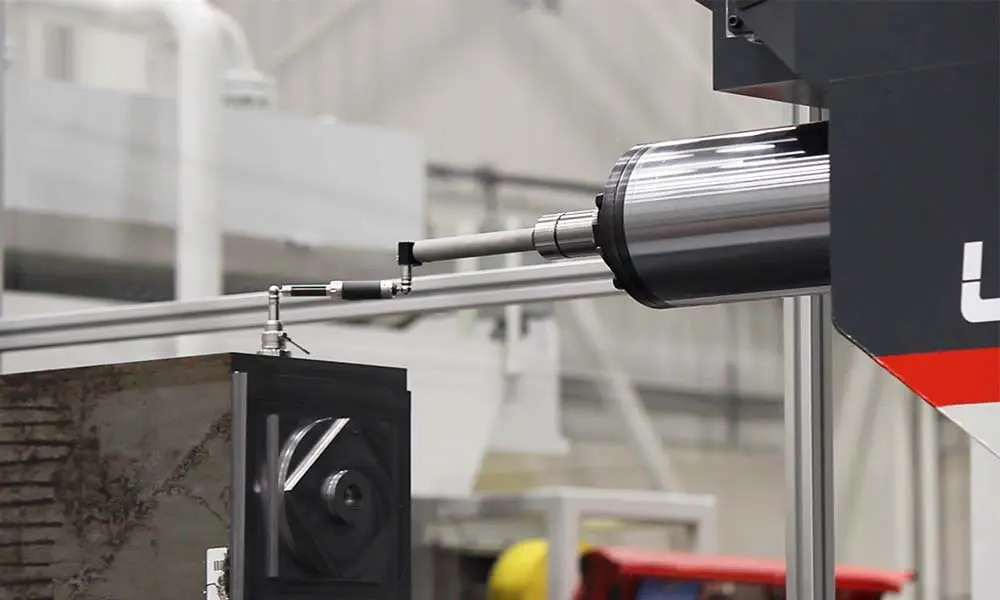
Static alignment is one thing, but what about when the machine is moving multiple axis and reversing directions to hold its programmed path? There are a lot of factors contributing to accuracy under those circumstances – servo tuning, inertia matching, pitch errors, feedback errors, lost motion, lack of rigidity or squareness issues.
An electronic ball bar measures the machine performance considering all of those factors. The results give a clear picture of what is happening and guidance on what can be done to correct it. We use ballbar testing as part of our internal PM program in our machine shop at UNISIG. We also use it for certain UNISIG CNC machines to improve the final accuracy of the installation.
Electronic Compensation
Machines equipped with a high-end CNC can compensate for errors to improve accuracy. Linear compensations are common to fix straight-line issues. Thermal, non-linear and droop compensations can hide some underlying problems with a machine or extend the time between alignment services.
Some companies use these features to cut corners in manufacturing or installation. Just like with machine alignment, a partial understanding of a problem and and using machine compensation incorrectly can exaggerate a problem and cause a great deal of lost time chasing poor cutting performance.
UNISIG builds its machines to very high mechanical accuracies and we carry precision through the final installation. When electronic compensation is used, it’s purpose is to make a great machine even better. We document these values and make sure to clear them out or completely understand why they are present before performing any future alignment work.
UNISIG CORE COMPETENCIES
Mechanical Engineering | Electrical Engineering | CNC Machining | CNC Grinding | Fabrication | Mechanical Assembly | Electrical Assembly | Precision Calibration | Machine Service | Training


